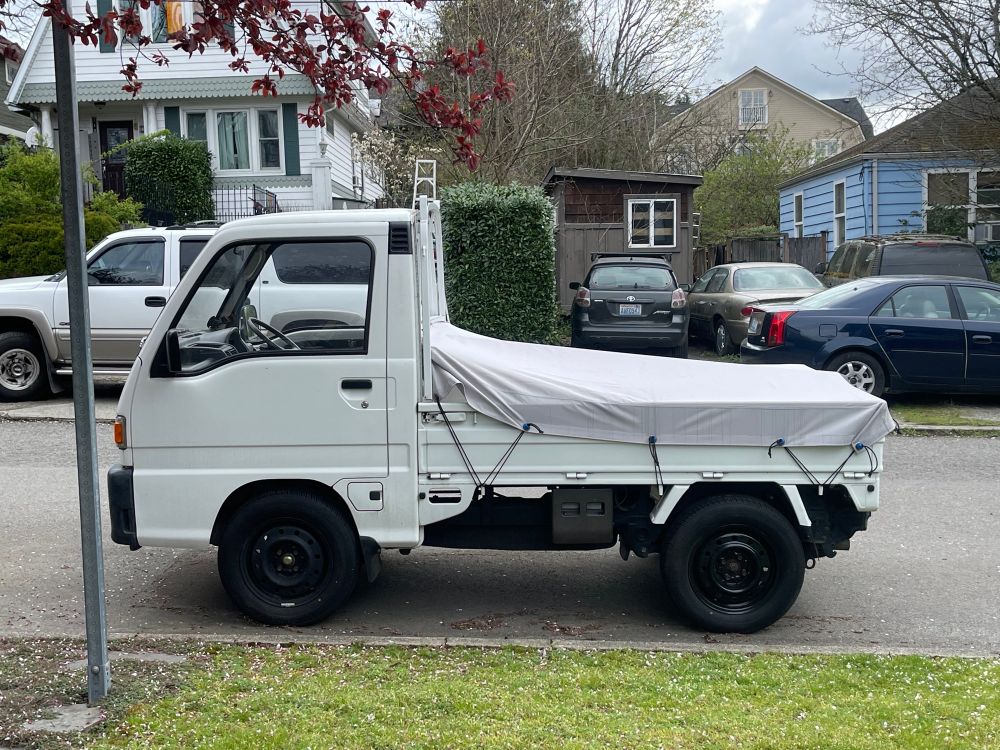
The Subaru Sambar, a beloved kei truck, is known for its compact design and reliable performance. However, like any vehicle, it requires regular maintenance to ensure optimal function. One crucial maintenance task is replacing the fuel filter. This article will discuss when and how to replace the fuel filter on a 1990s Subaru Sambar, focusing on why this process is vital for your vehicle’s longevity.
Understanding the Role of the Fuel Filter
The fuel filter is a critical component of your Subaru Sambar’s fuel system. Its primary function is to trap impurities and contaminants present in the fuel before it reaches the engine. These impurities can include dirt, rust, and other debris that can affect engine performance. A clogged or dirty fuel filter can lead to reduced fuel efficiency, engine misfires, or even more severe engine damage.
Signs That Your Fuel Filter Needs Replacement
- Decreased Fuel Efficiency: If you notice that your fuel consumption has increased significantly, it could indicate that your fuel filter is clogged and not allowing enough fuel to reach the engine.
- Engine Performance Issues: Hesitation during acceleration, stalling, or rough idling can be signs of a failing fuel filter.
- Difficulty Starting: If your Sambar is hard to start, it may be due to inadequate fuel flow caused by a clogged filter.
- Warning Light: Some models may trigger a check engine light when fuel system issues arise.
- Unusual Noises: If you hear sputtering sounds from the engine, it may be a sign of fuel delivery problems.
Recommended Replacement Schedule
For the 1990s Subaru Sambar, it’s generally recommended to replace the fuel filter every 30,000 to 40,000 miles. However, if you drive in harsh conditions or use low-quality fuel, you might need to replace it more frequently. Always refer to your vehicle’s manual for specific recommendations.
Tools and Materials Needed
Before starting the replacement process, gather the following tools and materials:
- New Subaru Sambar fuel filter
- Ratchet and socket set (typically 10mm)
- Pliers
- Screwdriver (flathead)
- Fuel line disconnect tool (optional)
- Clean cloths or rags
- Safety goggles and gloves
- Catch pan for fuel spills
Step-by-Step Guide to Replacing the Fuel Filter
Step 1: Safety First
- Prepare the Workspace: Ensure you’re in a well-ventilated area, preferably outdoors or in a garage with good airflow.
- Disconnect the Battery: For safety, disconnect the negative terminal of the battery to prevent any electrical issues.
- Relieve Fuel Pressure: Before you begin, relieve the fuel pressure to avoid any spills. Locate the fuel pump relay in the fuse box and remove it. Start the engine and let it run until it stalls. This will relieve any residual pressure in the fuel lines.
Step 2: Locate the Fuel Filter
- Find the Filter: The fuel filter on the 1990s Subaru Sambar is typically located under the vehicle, along the frame rail, or near the fuel tank. Consult your service manual for the exact location.
Step 3: Remove the Old Fuel Filter
- Prepare for Spills: Place a catch pan underneath the fuel filter to catch any fuel that may spill during removal.
- Disconnect Fuel Lines: Using pliers, carefully disconnect the fuel lines from the filter. If you have a fuel line disconnect tool, this can make the process easier. Be cautious, as some fuel may still be in the lines.
- Remove the Filter: Use the ratchet and socket to remove the bolts securing the fuel filter to the bracket. Once loose, gently pull the filter away from its mounting.
Step 4: Install the New Fuel Filter
- Compare Filters: Before installing the new filter, compare it to the old one to ensure they match in size and orientation.
- Install the New Filter: Position the new filter in place, ensuring that the flow direction (indicated by an arrow on the filter) matches the fuel flow in your vehicle. Secure it with the mounting bolts.
- Reconnect Fuel Lines: Carefully reattach the fuel lines to the new filter, ensuring they are securely fastened.
Step 5: Final Checks
- Reconnect the Battery: Reattach the negative terminal of the battery.
- Check for Leaks: Before starting the engine, turn the ignition to the “on” position (without starting the engine) to allow the fuel pump to pressurize the system. Check for any leaks around the fuel filter and lines.
- Start the Engine: Once you confirm there are no leaks, start the engine. Allow it to idle for a few minutes and monitor for any unusual noises or issues.
Maintenance Tips
- Use Quality Fuel: To prolong the life of your fuel filter, use high-quality fuel from reputable sources.
- Regular Inspections: Make it a habit to check your fuel filter during regular maintenance intervals to ensure it is not clogged.
- Keep Records: Maintain a log of when you replaced your fuel filter and any other maintenance performed on your Sambar.
Conclusion
Replacing the fuel filter of Subaru Sambar is an essential maintenance task that can significantly enhance your vehicle’s performance and longevity. By recognizing the signs of a failing fuel filter and following the steps outlined in this guide, you can ensure that your Subaru Sambar runs smoothly and efficiently for years to come. Remember, regular maintenance is key to enjoying the full potential of your beloved kei truck.